Saturday, 12 October 2013

Craft Show Display

My goal with each craft show is to bump my display up a notch.  Typically, in previous shows I've been so solely focused on making salable product, that my display props are assembled in a mad scramble, slap-dashed together one or two nights before the show. My goal for my most recent show was to put together some proper display items that I could reuse.

More on my individual prop projects later, but here's a few pics of my booth.  I'm thrilled with how it looks and the customers seem to be responding to my additional efforts.


Wednesday, 25 September 2013

Eye Candy - DoverPictura

Wow folks, this morning I stumbled across a site via another blog that I follow that I think is going to be my new best friend of the internet. DoverPictura is eye candy for image addicts.

As their tag line states, DoverPictura is an online source for "Rare, Unique and Exotic Digital Image Collections" that are royalty and/or copyright free.  Their collection is HUGE and covers a multitude of interests/ subjects  from Angels to Warcraft and anything you could imagine in between.
                             Cropped Screenshots via DoverPictura.com

For a very reasonable fee, you can download either an entire 'book' of images or selected image sheets. Then you can either use the images as a source of inspiration, or use them directly - because they're royalty free y'all!!

My immediate favourite 'books' included:


(that jaunty little dog in the hat and coat kills me!)

Think this site couldn't any more awesome? Well, they have a blog for crafty ideas on how to play with their images. Hello, amazing! What do you think? I'd love to hear some of your favourites!


Monday, 24 June 2013

Bragity Brag Brag: "Owl Alighting" - One Painting, 11 pics

My husband recently suggested that I take pictures of one of my paintings at each stage, all the way through. His idea was to make a slide show of  how the painting progresses to display at the next show I do.   Great idea, right?  

I took a mid-resolution scan of my most recent painting at each major step/ change in the process. Quick summary of my process here: The background of the paintings are created by alternating layers of hot wax and paint. After the final layer of paint is applied, I use a spatula to scrape up all the wax, which has resisted the paint. This reveals areas of the previous layers of colour.  I then detail painting on top of this abstract background.... but really, the whole process is much easier to show you...

...So here's my most recent painting "Barred Owl Alighting" in eleven scans. 


1. Step 1, here's the sketch.

2. Watercolour paper with yellow ochre wash


3. Blocked off the area of detail painting with tape to protect from wax application.  Deepened the ochre a bit. Applied the first layer of wax.

4. Darker colour, more wax.


5. Putting some green hues in, more wax.

6. Now its starting to look like the night sky...

7. Pulled up the tape and scraped up all the wax.  Here I thought there was too much contrast between the stars and the sky...

8. ... so I dirtied it up with some burnt sienna.

9.  Started laying in some bluish green for the tree.

10.  Owl.  The foreshortening of his right wing killed me here.  I also hated how the last vertical bar on the three leftmost feathers was on the same vertical line as the right edge of the tree trunk.  I used some very fine sandpaper to pull up some of the pain on the wing.

11. Fixed that wing and made a few changes to his face.  Yellow-green highlights added to the tree. Fin!


Tuesday, 21 May 2013

Stuff I Love: Buckhorn Spring Craft Show Round-Up

I had the great pleasure of exhibiting at the Buckhorn Spring Craft Show this weekend and met some awesome, enthusiastic craftspeople.  These are three of my favourite online-accessible makers from the show:

Little Kitchen Gourmet

Besides being a totally awesome and kind person, Patricia, from Little Kitchen Gourmet, makes some amazingly tasty stuff.  My booth was across from hers at the show I did previously, and I spent every slow moment taste-testing off her table.  She's got modern takes on classic recipes that are unique enough to impress the biggest food snob and have the quality of grandma's kitchen (For example, Tequila Sunset Red Pepper Jelly). Check out Little Kitchen Gourment online, or in person in one of their upcoming Southern Ontario shows.


Eva + Dell

When Ann walked into the banquet hall in a kick-ass vintage-style polka dotted dress, I figured I was probably going to love whatever she was selling.  And I did.  She makes very high-quality, vintage inspired clothing and accessories for girls and boys (check out these suspenders - too adorable, right?!). Like me, she's both a  mom of a toddler and recently turned her crafting hobby into a job.  Check out Anne's webpage and Etsy shop (there's a few things there for women too.)


Cottage Lights

I was fortunate enough to have my booth beside Rhonda from Cottage Lights.  Together with her mom, Colleen, Rhonda had me in stitches whenever there was a break in traffic through the show.  Rhonda has a highly stressful full-time job, and she relieves stress by (meticulously) hand-pouring 100% natural soy candles.  For people who love beeswax, but want a more cost-effective natural candle, check out soy.  Actually, soy candles just seem all-in-all better than conventional candles in terms of scent-throw, burn time, and clean-burning. Cottage Lights offers custom scent blends for a variety of tastes.  Check out Rhonda's website for upcoming events and retail locations in southern Ontario.


Wednesday, 24 April 2013

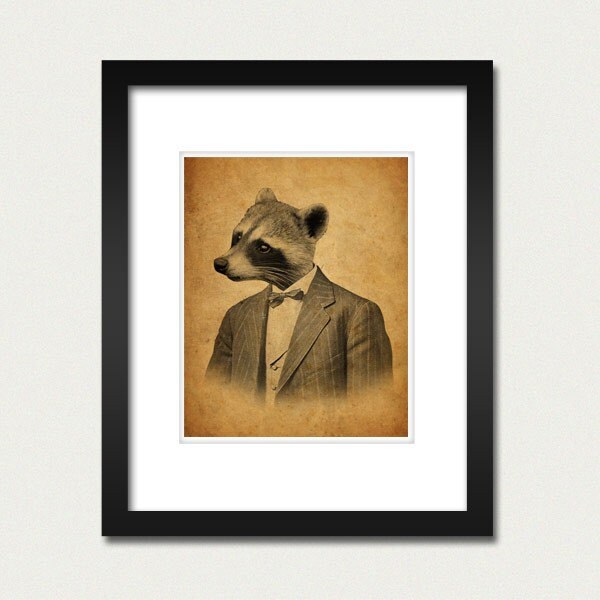
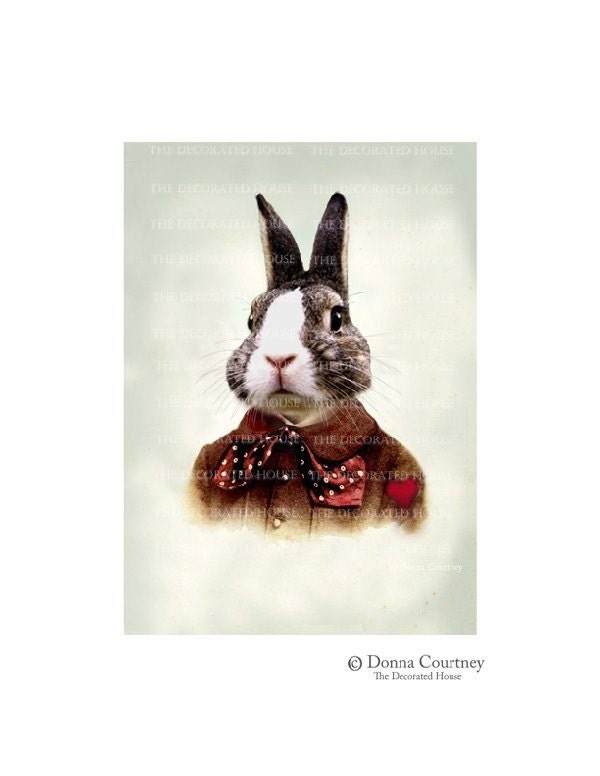
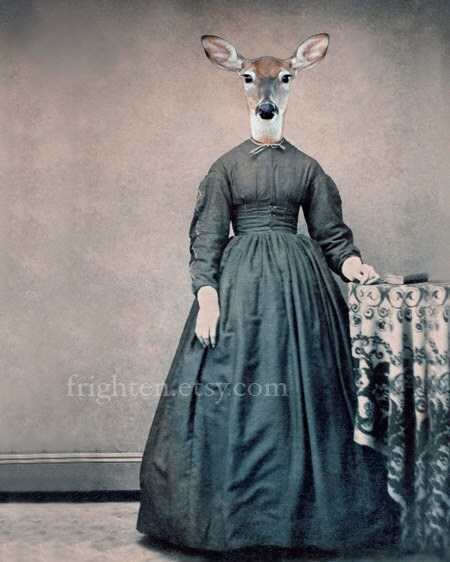
Stuff I Love: Anthropomorphic Animal Portraits


Lately I'm lovin' old-timey portraits of animals doing people things.  I'm not sure if this new-found love is because these remind me of characters from childhood story books, or because they're just so compellingly weird. I own this Young Mr. Fox portrait and I'm thinking that it would like some company on my wall.  Here are the top 4 on my wish list, but you can see the whole treasury of 16 portraits on Etsy.


Friday, 25 January 2013

Etsy Opening

Finally, after much procrastinating... and some work too, my Etsy store is open.  Yippi!  Consider this a post of shameless self-promotion.

http://www.etsy.com/shop/artisan82


Sunday, 6 January 2013

Tutorial: Delicate Stacking Bracelets


You know those stacking rings?  Well these are the bracelet version of stacking rings... or maybe even a more refined version of friendship bracelets.  I don't know.  I do love these right now and they're so simple to make, it almost doesn't even warrant making a tutorial.  But here goes...

The stuff you'll need:  Some beads (not pictured), an eye pin and clasp, wire cutters, pliers (round-nose or needle-nose), and some chain.  A broken necklace would make a few bracelets.  I used a spool of chain from the craft supply store.  
 At about $5 for 2m (6ft) of chain, plus $3 for 100 eye pins, you can make a crap-ton of bracelets for only a little cash.


Thread the beads on the eye pin.  Bend up the end and use the pliers to curl a loop into the end.

Use the wire cutters to cut two lengths of chain.  Use pliers to open the loops on the eye pin. Loop one length of chain onto each end of the beaded eye pin and close those loops.

Use your fingers and thumbs to arc the eye pin a bit.  The curve in the eye pin makes it sit on your wrist nice.


Put on the clasp.  Done...


...err, unless you decide to bust out the bead stash and make a whole pile.  Change the look by switching the metal colour or by using cord or wire instead of chain..