Showing posts with label On my desk. Show all posts

Monday, 24 June 2013

Bragity Brag Brag: "Owl Alighting" - One Painting, 11 pics

My husband recently suggested that I take pictures of one of my paintings at each stage, all the way through. His idea was to make a slide show of  how the painting progresses to display at the next show I do.   Great idea, right?  

I took a mid-resolution scan of my most recent painting at each major step/ change in the process. Quick summary of my process here: The background of the paintings are created by alternating layers of hot wax and paint. After the final layer of paint is applied, I use a spatula to scrape up all the wax, which has resisted the paint. This reveals areas of the previous layers of colour.  I then detail painting on top of this abstract background.... but really, the whole process is much easier to show you...

...So here's my most recent painting "Barred Owl Alighting" in eleven scans. 


1. Step 1, here's the sketch.

2. Watercolour paper with yellow ochre wash


3. Blocked off the area of detail painting with tape to protect from wax application.  Deepened the ochre a bit. Applied the first layer of wax.

4. Darker colour, more wax.


5. Putting some green hues in, more wax.

6. Now its starting to look like the night sky...

7. Pulled up the tape and scraped up all the wax.  Here I thought there was too much contrast between the stars and the sky...

8. ... so I dirtied it up with some burnt sienna.

9.  Started laying in some bluish green for the tree.

10.  Owl.  The foreshortening of his right wing killed me here.  I also hated how the last vertical bar on the three leftmost feathers was on the same vertical line as the right edge of the tree trunk.  I used some very fine sandpaper to pull up some of the pain on the wing.

11. Fixed that wing and made a few changes to his face.  Yellow-green highlights added to the tree. Fin!


Sunday, 6 January 2013

Tutorial: Delicate Stacking Bracelets


You know those stacking rings?  Well these are the bracelet version of stacking rings... or maybe even a more refined version of friendship bracelets.  I don't know.  I do love these right now and they're so simple to make, it almost doesn't even warrant making a tutorial.  But here goes...

The stuff you'll need:  Some beads (not pictured), an eye pin and clasp, wire cutters, pliers (round-nose or needle-nose), and some chain.  A broken necklace would make a few bracelets.  I used a spool of chain from the craft supply store.  
 At about $5 for 2m (6ft) of chain, plus $3 for 100 eye pins, you can make a crap-ton of bracelets for only a little cash.


Thread the beads on the eye pin.  Bend up the end and use the pliers to curl a loop into the end.

Use the wire cutters to cut two lengths of chain.  Use pliers to open the loops on the eye pin. Loop one length of chain onto each end of the beaded eye pin and close those loops.

Use your fingers and thumbs to arc the eye pin a bit.  The curve in the eye pin makes it sit on your wrist nice.


Put on the clasp.  Done...


...err, unless you decide to bust out the bead stash and make a whole pile.  Change the look by switching the metal colour or by using cord or wire instead of chain..


Monday, 29 October 2012

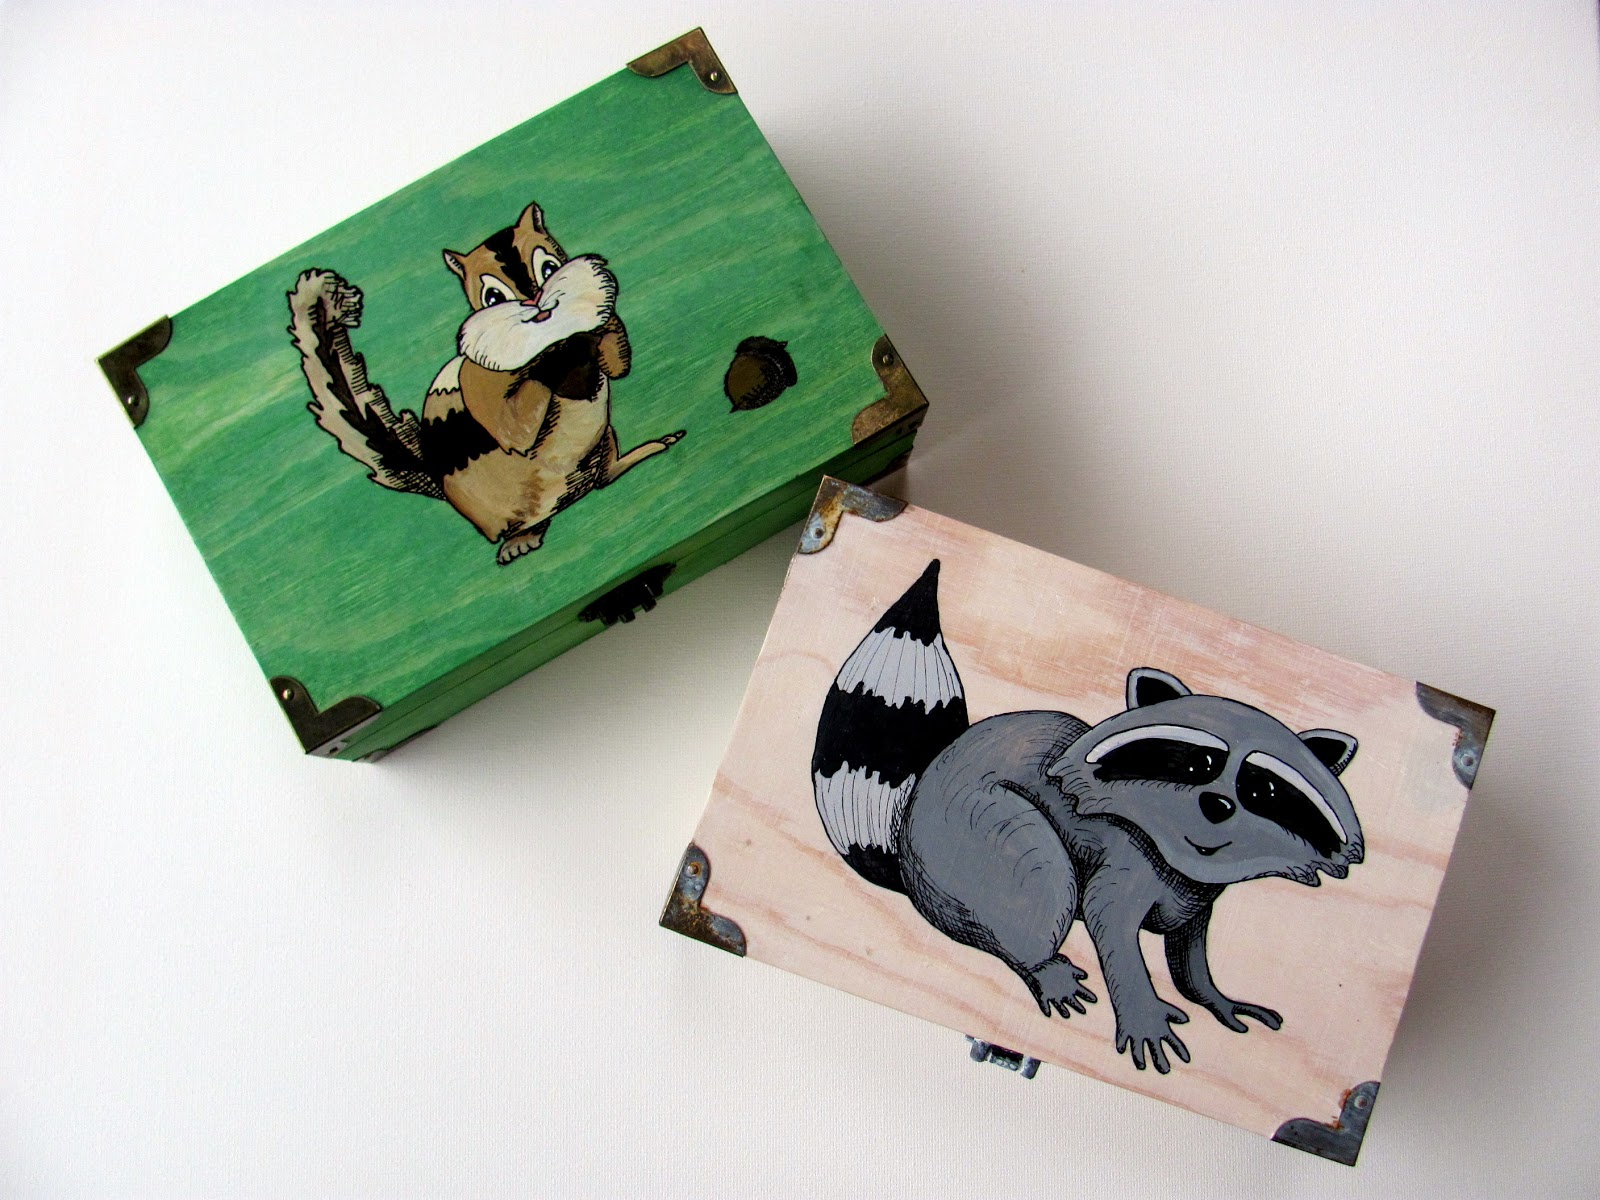
On my desk: Keepsake Boxes

I've been super-busy on craft show stuff.  I've got many things in progress, but not a lot of finished stuff ready to share.  I was staining in the garage all weekend, but the pouring rain is not doing much to help my stain dry!

Thursday, 11 October 2012

On my desk: Forest Themed Sketches

I'm madly working on painting a pile of pine furniture as stock for the "Nick of Time' show at the Buckhorn Community Centre.  (Oh yeah! Buckhorn! What!) Here's a peek at what's on my desk these days:

A quick test of materials.  This won't be a finished project, I'm just making sure that the different products I'm using are compatible.  The birch panel gives me a (cheaper) surface to practice on that is similar to the pine furniture.  

Work in progress on the back panel of a little storage bench. 


... and some more drawings I'm working on for more furniture.  At various points that poor little deer has looked like a goat and a lamb.  I think it's still a little lamb-like... might be the legs... going to have to tweak that methinks.