Tuesday, 21 May 2013

Stuff I Love: Buckhorn Spring Craft Show Round-Up

I had the great pleasure of exhibiting at the Buckhorn Spring Craft Show this weekend and met some awesome, enthusiastic craftspeople.  These are three of my favourite online-accessible makers from the show:

Little Kitchen Gourmet

Besides being a totally awesome and kind person, Patricia, from Little Kitchen Gourmet, makes some amazingly tasty stuff.  My booth was across from hers at the show I did previously, and I spent every slow moment taste-testing off her table.  She's got modern takes on classic recipes that are unique enough to impress the biggest food snob and have the quality of grandma's kitchen (For example, Tequila Sunset Red Pepper Jelly). Check out Little Kitchen Gourment online, or in person in one of their upcoming Southern Ontario shows.


Eva + Dell

When Ann walked into the banquet hall in a kick-ass vintage-style polka dotted dress, I figured I was probably going to love whatever she was selling.  And I did.  She makes very high-quality, vintage inspired clothing and accessories for girls and boys (check out these suspenders - too adorable, right?!). Like me, she's both a  mom of a toddler and recently turned her crafting hobby into a job.  Check out Anne's webpage and Etsy shop (there's a few things there for women too.)


Cottage Lights

I was fortunate enough to have my booth beside Rhonda from Cottage Lights.  Together with her mom, Colleen, Rhonda had me in stitches whenever there was a break in traffic through the show.  Rhonda has a highly stressful full-time job, and she relieves stress by (meticulously) hand-pouring 100% natural soy candles.  For people who love beeswax, but want a more cost-effective natural candle, check out soy.  Actually, soy candles just seem all-in-all better than conventional candles in terms of scent-throw, burn time, and clean-burning. Cottage Lights offers custom scent blends for a variety of tastes.  Check out Rhonda's website for upcoming events and retail locations in southern Ontario.


Wednesday, 24 April 2013

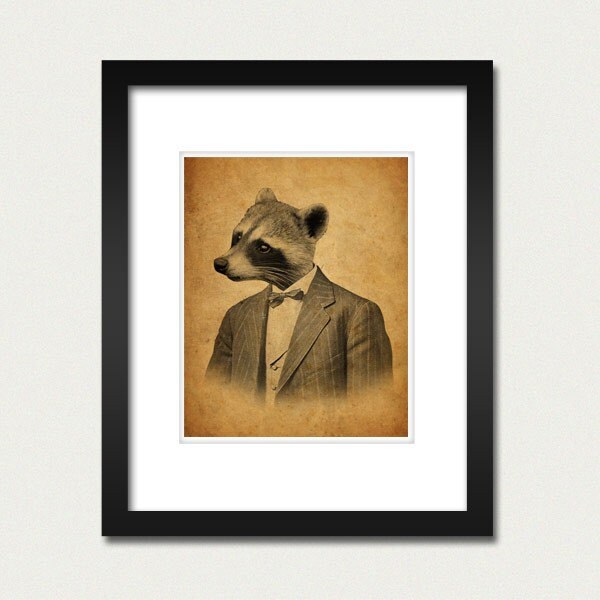
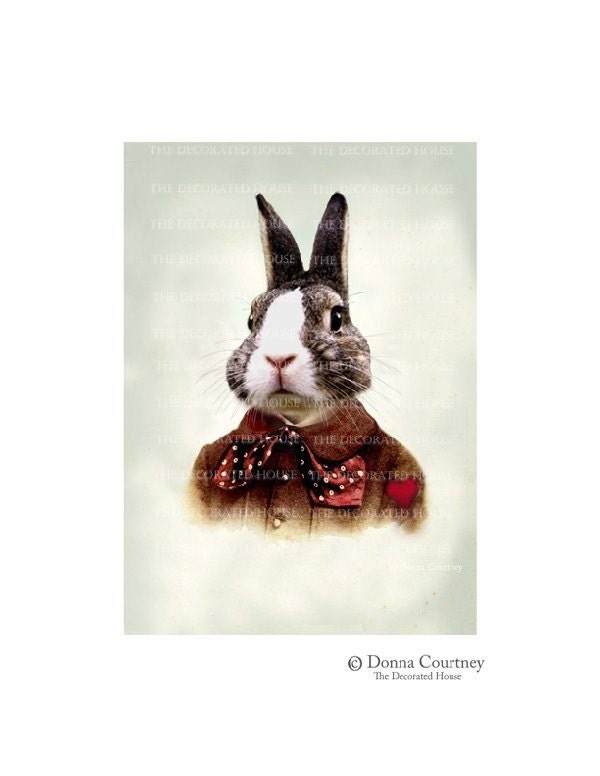
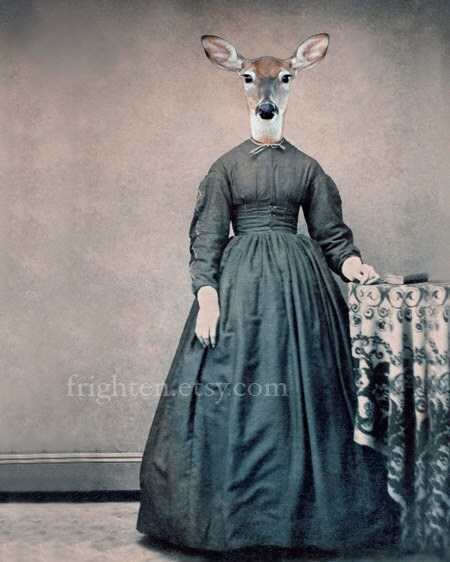
Stuff I Love: Anthropomorphic Animal Portraits


Lately I'm lovin' old-timey portraits of animals doing people things.  I'm not sure if this new-found love is because these remind me of characters from childhood story books, or because they're just so compellingly weird. I own this Young Mr. Fox portrait and I'm thinking that it would like some company on my wall.  Here are the top 4 on my wish list, but you can see the whole treasury of 16 portraits on Etsy.


Friday, 25 January 2013

Etsy Opening

Finally, after much procrastinating... and some work too, my Etsy store is open.  Yippi!  Consider this a post of shameless self-promotion.

http://www.etsy.com/shop/artisan82


Sunday, 6 January 2013

Tutorial: Delicate Stacking Bracelets


You know those stacking rings?  Well these are the bracelet version of stacking rings... or maybe even a more refined version of friendship bracelets.  I don't know.  I do love these right now and they're so simple to make, it almost doesn't even warrant making a tutorial.  But here goes...

The stuff you'll need:  Some beads (not pictured), an eye pin and clasp, wire cutters, pliers (round-nose or needle-nose), and some chain.  A broken necklace would make a few bracelets.  I used a spool of chain from the craft supply store.  
 At about $5 for 2m (6ft) of chain, plus $3 for 100 eye pins, you can make a crap-ton of bracelets for only a little cash.


Thread the beads on the eye pin.  Bend up the end and use the pliers to curl a loop into the end.

Use the wire cutters to cut two lengths of chain.  Use pliers to open the loops on the eye pin. Loop one length of chain onto each end of the beaded eye pin and close those loops.

Use your fingers and thumbs to arc the eye pin a bit.  The curve in the eye pin makes it sit on your wrist nice.


Put on the clasp.  Done...


...err, unless you decide to bust out the bead stash and make a whole pile.  Change the look by switching the metal colour or by using cord or wire instead of chain..


Sunday, 2 December 2012

Inspiration: Seeing things Like a Child

My toddler received one of those "kid proof" digital cameras as a gift.  It honestly wouldn't have been something I would have bought for her - it seems a bit crazy (to me) that a two-year-old should have her own camera.  I was enlightened after watching her play with it for awhile.  She took pictures of everything; her ball, her snack, her sister baby, a chair, looking out the window, looking in the mirror... Anything that was interesting, she'd tell it "say cheese" and snap a pic.

In looking through the [200+] pictures she took in the first few days, you could really see though her pictures the things that she thought were interesting.  Her photos were little tidbits of her life that she captured with a childlike curiosity.  No editing. No framing. No posing.  Just capture.

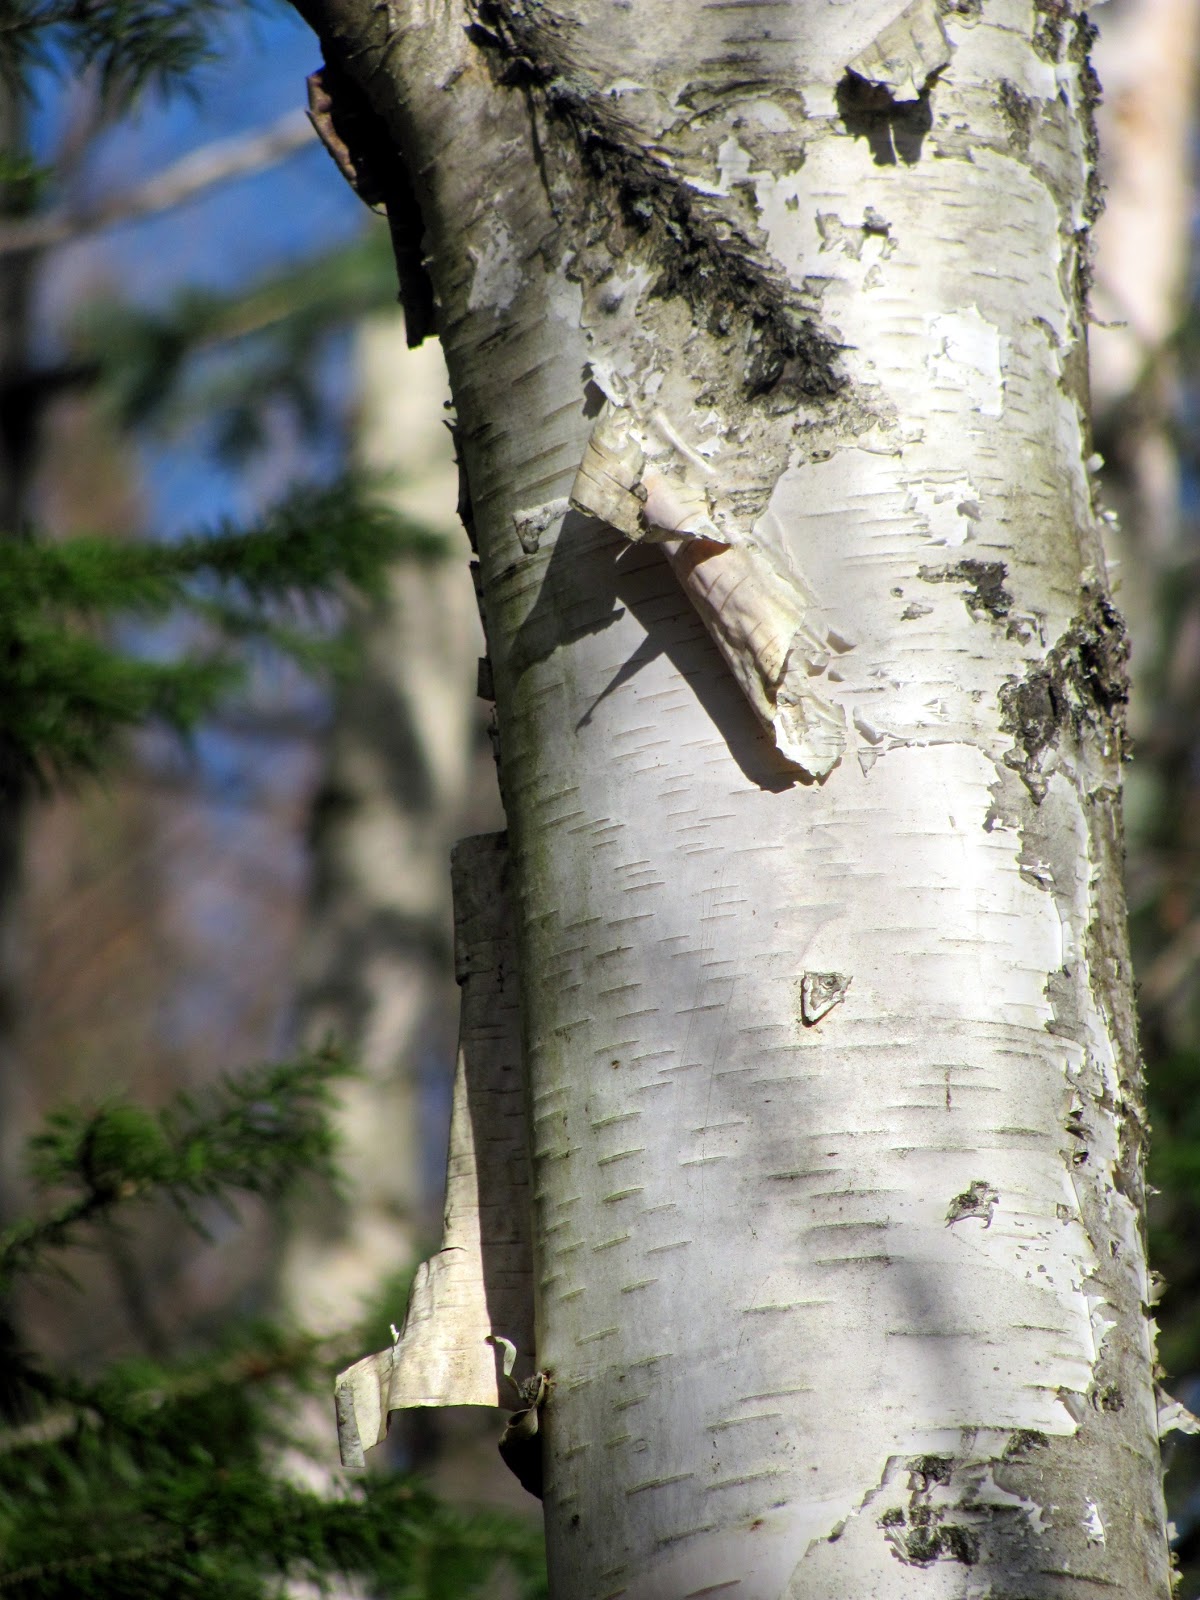
My little girl with her camera inspired me to get outside (during naptime with baby-monitors in pocket) and capture a few pics of things I found interesting in the wooded area around my yard. I wish I could turn off the editing/ framing that is imprint in my brain, but alas, I am a grown-up.  My friend Pablo said it best, perhaps:
“It took me four years to paint like Raphael, but a lifetime to paint like a child” (Pablo Picasso)

Here are a few of my captures:


Here's hoping this encourages you to get out and capture quick pics of some of the things in your life that inspire you!

Sunday, 25 November 2012

Tutorial: Family of Foxes Keepsake Box


Here’s a step-by-step tutorial on how to make a fun  keepsake box with an illustration of a fox family.


Supplies you will need include:
- a blank wooden box.  The one I’m using is ‘cigar box’ shaped and measures 8 ¼ x 8 x 2 inches (21 x 20 x 4.5cm)
-fine sandpaper (220 grit or higher)    -masking tape              -pencil, fine black marker
-wood stain or paint (optional, could leave the wood natural)                       -acrylic paint, brushes
-polyurethane (optional, can use any clear topcoat, even watered-down white glue will work in a pinch).

You’ll need a drawing that you want to transfer onto the box.  You can use anything that has a definite outline.  Colouring books make great sources, if you want to use my drawing of a little fox family,  I’ve provided the template in pdf format here: Fox Family


Give the entire box a really good rub down with the fine grit sand paper. Don’t skip this step!  The finish of the box really depends on the smallest effort sanding at first and in between steps.


Cut out the template and tape it to the box.  Trace around the outside of the template with a pencil.


If you're not leaving the wood natural, use a small brush to stain (or paint) around the box outside the outline.  It’s not a big deal if the stain bleeds a little or if there are a few slip-ups.  Paint can cover any goofs.


Stain the rest of the box inside and out.  You can switch to a bigger brush here if you want. Let it dry.


The next step is to transfer the template illustration onto the box.  You can use carbon paper or something similar, but what I do doesn't require anything but a regular old pencil.
Just scribble all over the back of the stencil.


Flip it your template right-sides-up and re-position it in the unstained portion of your box.  Secure with some masking tape.


Using a mechanical pencil or ballpoint pen, trace over the image.  Use firm pressure, but its not necessary to press into the wood.  The graphite from the pencil scribbling on the back of the paper will transfer onto the box.  (I’ve upped the contrast on the photo here so you could see it.  The transfer is not usually this dark, but good enough to see the illustration to paint it.)


Start painting!  I usually start in the background and work my way into the foreground.  In general, the farther back forms should be darker.  When everything is painted to your satisfaction, let it dry for a good while… like overnight.


Give everything a light sanding.  I know it seems counter-productive to sand your lovely painting job, but this really makes the final finish look smooth.  If you’re using acrylic paint, this will get rid of any ridges that the brush strokes leave in the paint.


Use a marker to outline the illustration.


Using the same marker, add in texture and shadow with cross-hatching.  


As the final touch, I use a micofine brush to add white highlights to the eyes.  


Give everything a couple coats of polyurethane (sand between coats) to seal it.  Now you have a keepsake box worth keeping!

In addition to painting your own, you can WIN THIS BOX
Check out Artisan 82 on Facebook for the details.
Contest closes December 14, 2012

Thursday, 8 November 2012

Brag: Finished Green Storage Bench

The sun was shining today, so I got out to take some pics of my latest finished project.  It's a pine storage bench / tox box.


I'm very happy with how it turned out.  I'm also excited that, after weeks of work, I've got a finished piece.  Here's some photos of my sketched illustrations, and a close-up of the finished panels.